The Shop

The Shop
My name is Jake Rendell. This blog is a description of the various skills and information that I have learned and will learn while studying at Minnesota State Southeast Technical, in the Band Instrument Repair Program. Before coming to study in the BIR Program, I graduated cum laude from Laurentian University with a B.A. Music - Vocal in 2010, and First Class Standing with a B.Ed. I/S Music from Lakehead University in 2011. This final certification from MSC-ST will finish in May of 2012. I will try to update this blog on a weekly basis.

Week 14 - November 21st and 22nd

This week was a short week here in Red Wing. Thanks to school meetings and Thanksgiving Holidays, we were in school for a total of two days. We used one of these days to have some fun on the lathe.

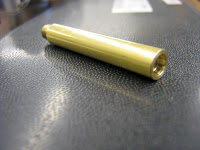
This week we made some tuba valve stems from scratch. We began with a 1/4" brass stock, turning it to length and threading one end. To ensure proper piston function and porting, the length of the stem body had to be precise. The stem was faced down to a specific length and drilled out. Finally, the stem was tapped, cleaned, and tested with its corresponding valve button.


 In preparation for working on flutes, we made a flute screw board. The pattern was pasted onto a block of pine and holes were drilled out. Nothing fancy, but it works quite well. To end off the week, we were given flutes to practice nomenclature and maintenance on. This flute is an Artley student level flute. With a five day weekend ahead, we dive into the flute world next week.


As a last note, I have posted a page dedicated to the process of the Armstrong project clarinet. For more information, leave a comment or email me at airbandrepair@gmail.com.

Week 13 - November 14th - 18th


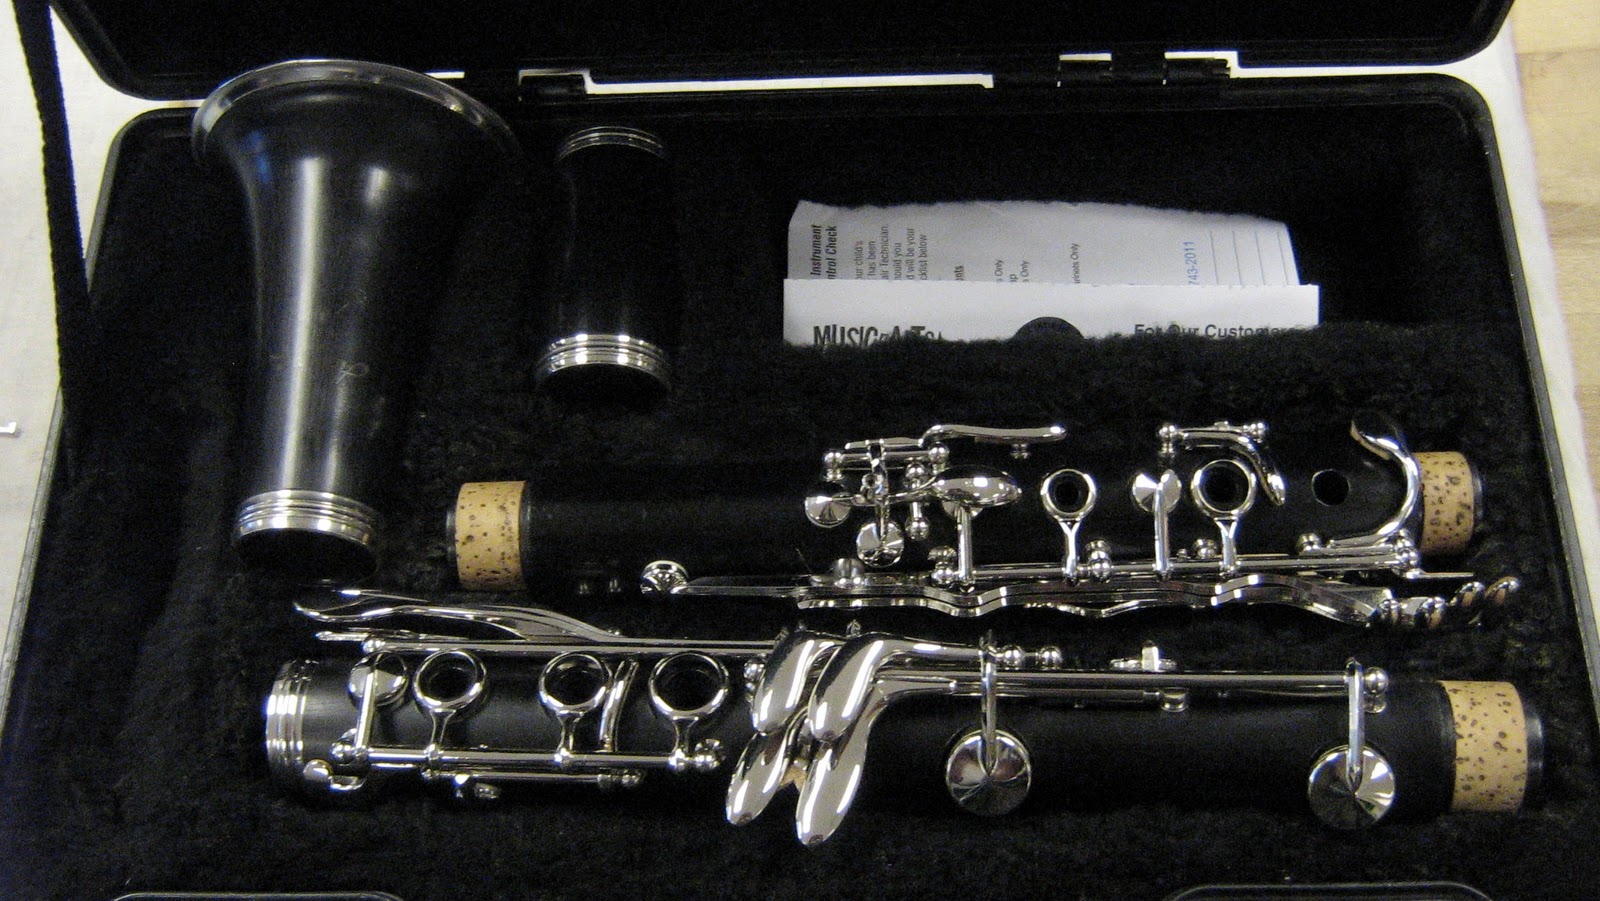
It is the final week of Clarinets this week. And what a busy week it was. With everyone hustling about, I though it a good idea to show you the woodwind side of things. Welcome to our woodwind shop.
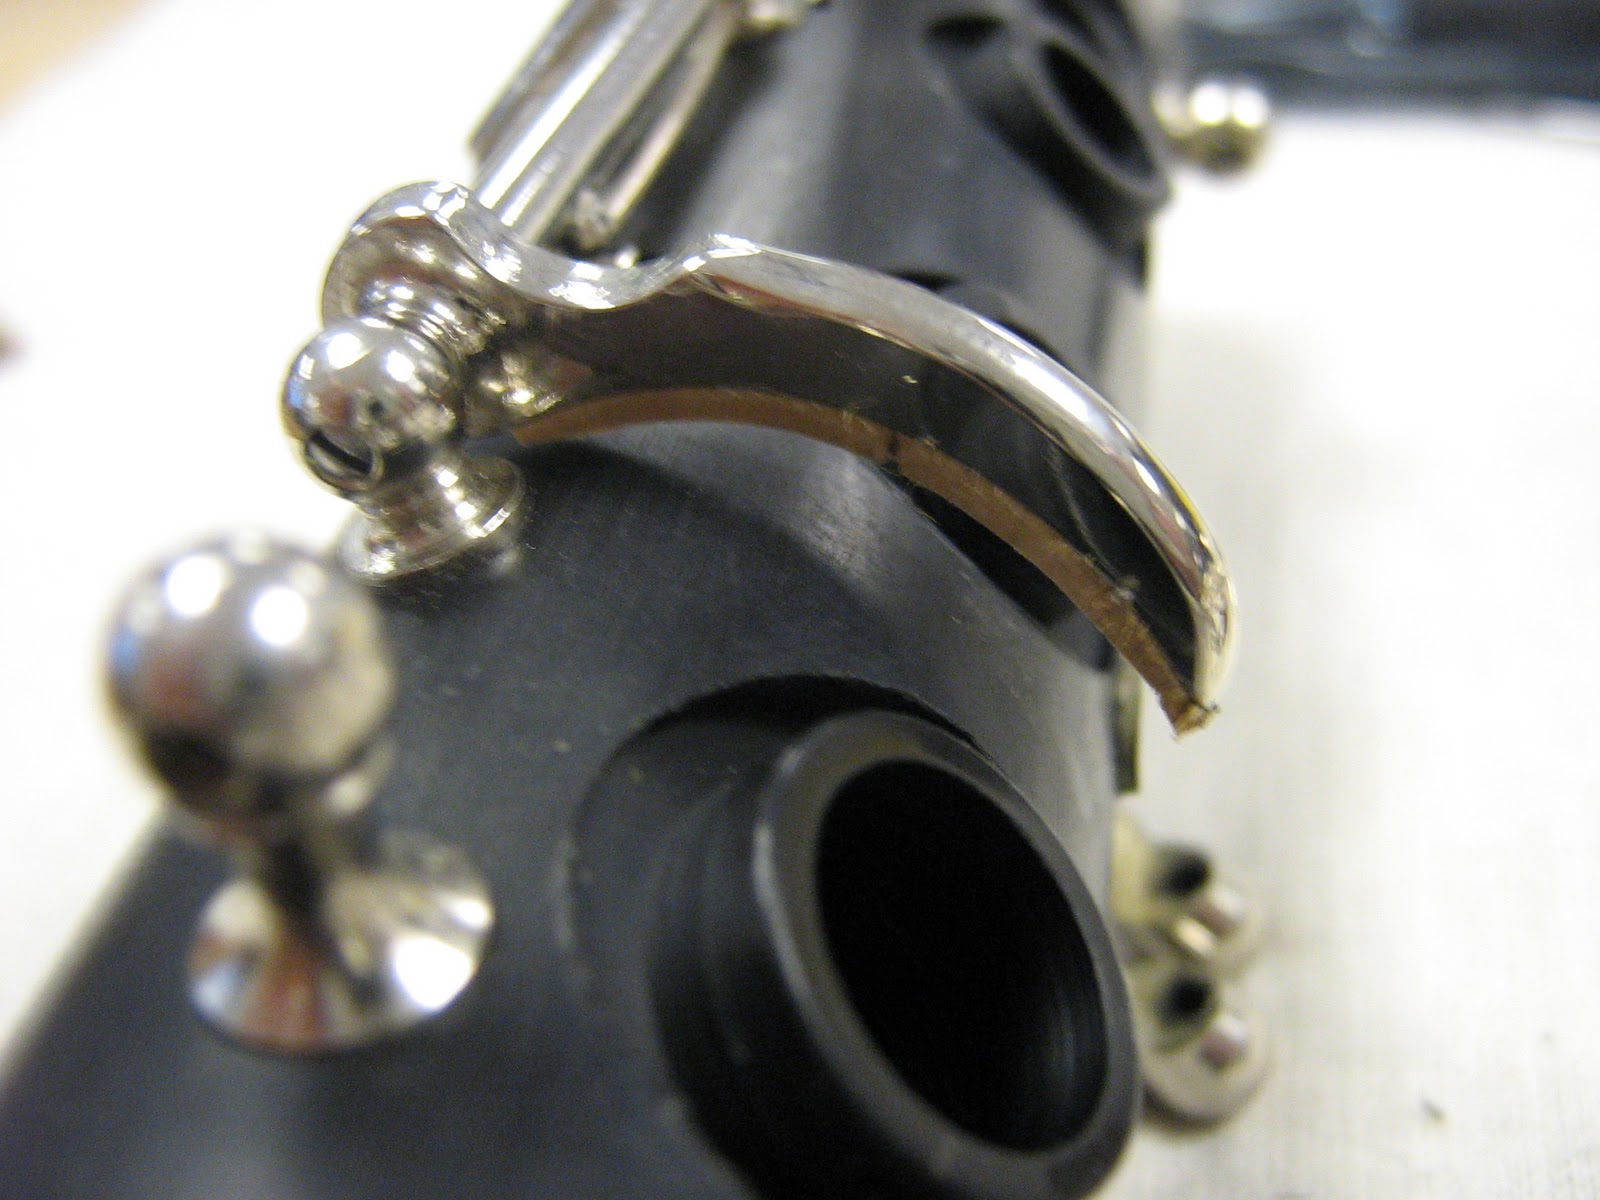
This week has been all about finishing the padding and corking on our clarinets. Lots of small work. We use various types of cork for different applications on the instrument. The cork that looks like pac-man, and the cork on the small lever are both Tech Cork, while the cork on the key is natural. Most corks are then sanded to fit and checked to make sure they allow for the proper venting of the key.


Tenon Corking is a different beast altogether.  With tenon corking, we cut a piece of cork the correct width of the tenon and soften it with a mallet, re-trimming if necessary. After cementing the cork in place, we trim off the excess and sand the cork to fit. Finally, we seal the cork with two layers of paraffin wax and grease it up. Below, you will see how exciting it can get once tenon corking is finished.


After tenon corking, the instrument was play tested. Satisfied, I re-cleaned the body and keys while wearing gloves to leave it in perfect condition for the customer. I did a quick cleaning of the inside of the case and put the instrument away. Once down, countless more to go.


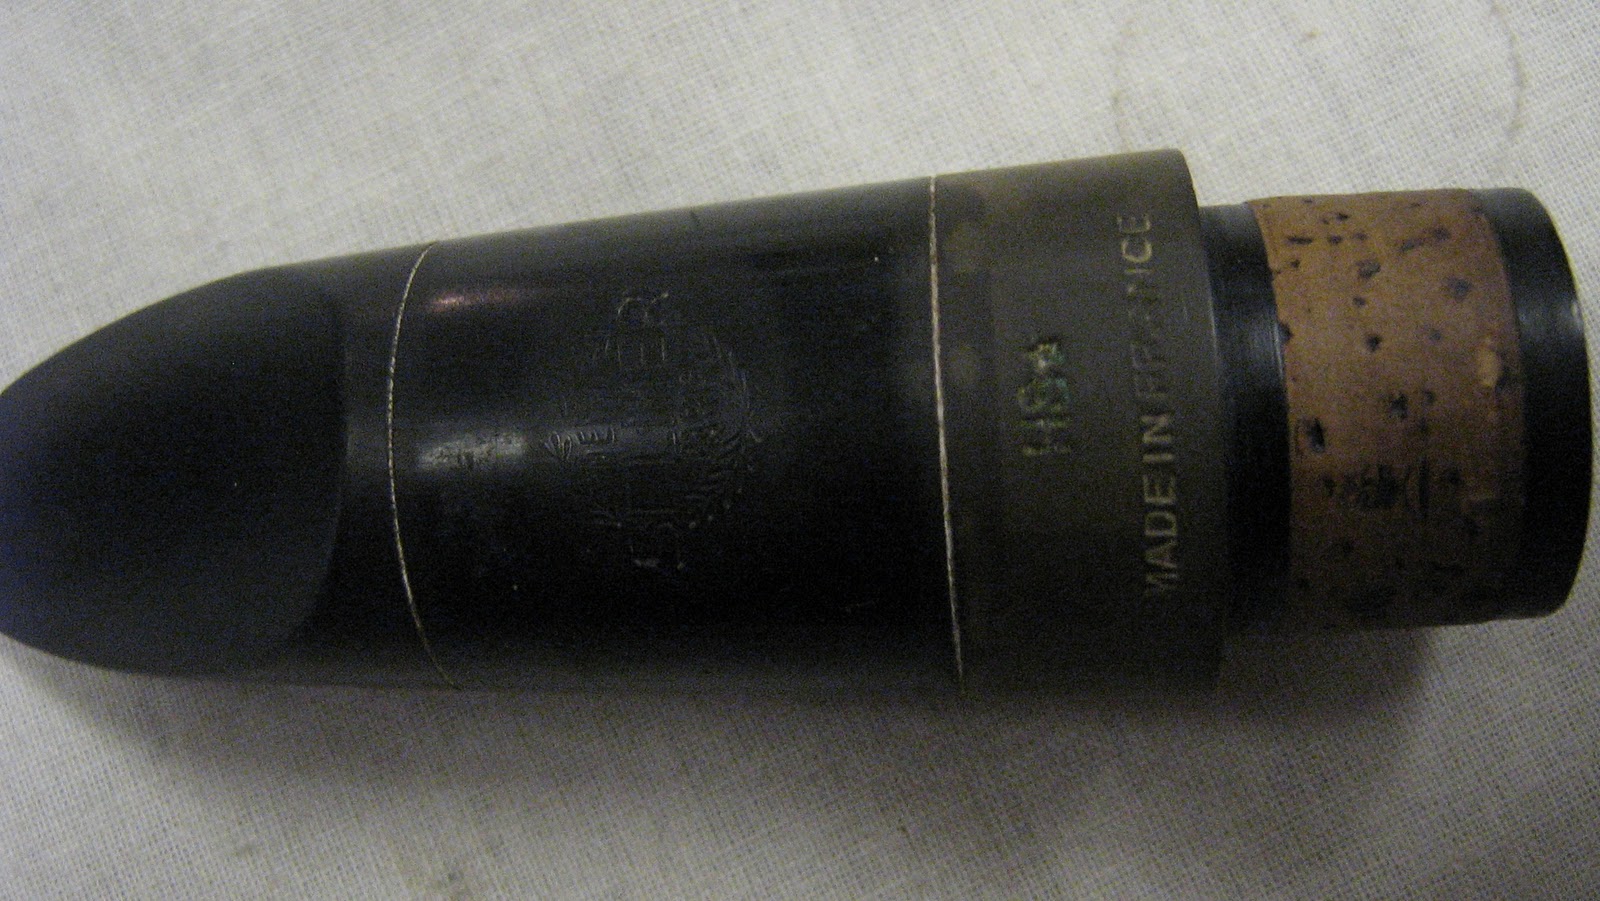
 Finally this week, as a quick side project, I did some work on an old Selmer HS Star Mouthpiece. This mouthpiece had been in the case of an old Boosey & Hawkes Clarinet that belonged to my step-father's father. It is a hard rubber mouthpiece that had the ligature and reed still attached. After a quick flush through the simple green to clean it up, some light sanding, a lot of work with dental picks to clean out the lettering, and finally some buffing, it came back to a nice shiny black instead of a rubber/sulfur green. With the help of a grease pencil, I was able to restore most of the logo and text on the mouthpiece. With a new tenon cork, this thing will be in top shape in no time.


Week 12 - November 7th to 10th

This week flew buy. We continued to do work on clarinet bodies, key fitting and padding. One issue that I found was that the factory holes in the posts for the Ab key were not aligned. To fix this, I removed the post from the body and opened up the hole. I then epoxied the post back in place using the hinge rod to align the post. The following morning, the hinge rod fit perfectly. Using a hinge tube shortener, I then refit the key and fixed all the issues.


The only other interesting issue that I came across this week was a crack in a tone hole. Using a silicone plug to maintain the shape of the hole, I filled the crack with super glue, then used a set of tone hole levelers to reshape it. The pad I installed now seals perfectly.


With my body issues fixed, I buffed my keys and began padding the instrument. The first re-pad is always the worst. I finished most of the padding, save the Ab/Eb key. It took way too long, but corking is all that remains.


Week 11 - October 31st to November 5th

This week in the Woodwind Shop, we've been getting down to the bread and butter of clarinets. We have been working on key fitting and padding. We've been installing pads and straightening keys on our practice clarinets, in my case a Yamaha. The keys on a Yamaha are so much stiffer than other clarinets, that it took me two days (on and off) to finally get the F# Ring Key straightened after Lucas hit it with a hammer. We use the handle of our canvas hammers to straighten the hinge rods first, then put the hinge rods into the key and straighten the key. Fun stuff.


This week we received our project clarinets. I got an Armstrong 4001 student line clarinet from Music and Arts. It seems in surprisingly good shape. Most of the keys are fit well and there doesn't appear to be much body damage. My job is to strip it down, chem flush it, and give it a total re-pad.


After dis-assembly, the keys had to be chem flushed. To do that, I had to remove all of the flat springs from the keys on the upper joint. Usually they are held on by a small flat-head screw. Lucky for me, Armstrong uses tiny hex-head bolts. They are not fun. After the keys were chem flushed, I ran the body through our Simple Green detergent and scrubbed it clean. The keys are now ready for fitting.


Back in the realm of tools, my desk started becoming cluttered. So after a quick trip to Menard's, $2.00 in wood and $3.00 in plastic, I started building this little tool rest. The buckets are detachable. Once I drill some holes in the tops of each layer, it should hold all of my screw drivers, pliers and hammers. Not bad for $5.00. To the right, I found this small container in my truck. It works perfectly for my Gummi Kork height gauges. Plus I get a mushroom on my desk.


Weeks 9 and 10 - October 17th - 28th


These last two weeks have been a complete reset in the instrument repair classroom. We have now completely submerged ourselves into woodwind repair, and there has been a lot of prep work involved as we learn our way around the clarinet. The first few days have been all about tool prep and nomenclature. First off, we created a clarinet screw board to help us organize hinge rods and screws as we disassembled. It was a very easy, but very necessary tool to make. 


After our boards were made, we began to disassemble and reassemble practice clarinets. I have been working on a mid-70's Yamaha YCL61 student clarinet. This particular clarinet has both standard pointed pivot screws and headless pointed pivot screws, as well as pinned E/B and F#/C# Levers.


We then began to learn how to install foot corks on keys. As I have learned, corking is an art, not a craft. When corking, we use contact cement to secure the uncut cork on the key, and then trim it to size. We try to cut the cork in one motion with the razor blade to avoid any lips or tears. In addition, we typically don't sand the cork to fit the outside of the key because it leaves the cork looking faded. This problem is further compounded by the issue of only getting 2-3 cuts per razor blade before it starts tearing the cork rather than cutting smooth. It's quite the trick.


We have been making and modifying tools these last couple of weeks. The tool below may not look like much, but it is a feeler gauge. Basically a piece of Mylar film hot glued to a stick, the feeler gauge is a tool that lets us find leaks in padding so that we can readjust for a perfect fit. Cheap, dirty, and effective.


 As far as our tool modifications have gone, most of what we have been doing is cleaning up the factory tool marks on our swedging pliers, pad slicks and duckbill pliers. Most of the factory tools that we have are quickly made and have machining marks everywhere. So we spent a couple of days sanding and buffing our tools so they do not damage any of the instruments we are working on.


Much of our time these last two weeks have been spent in lecture, rather than working on instruments. We have explored key fitting and straightening, alignment, venting and regulation. While I may not have much to show for it right now, what we have been learning will become apparent on our project clarinets, which I hope we will get next week. Stay tuned.