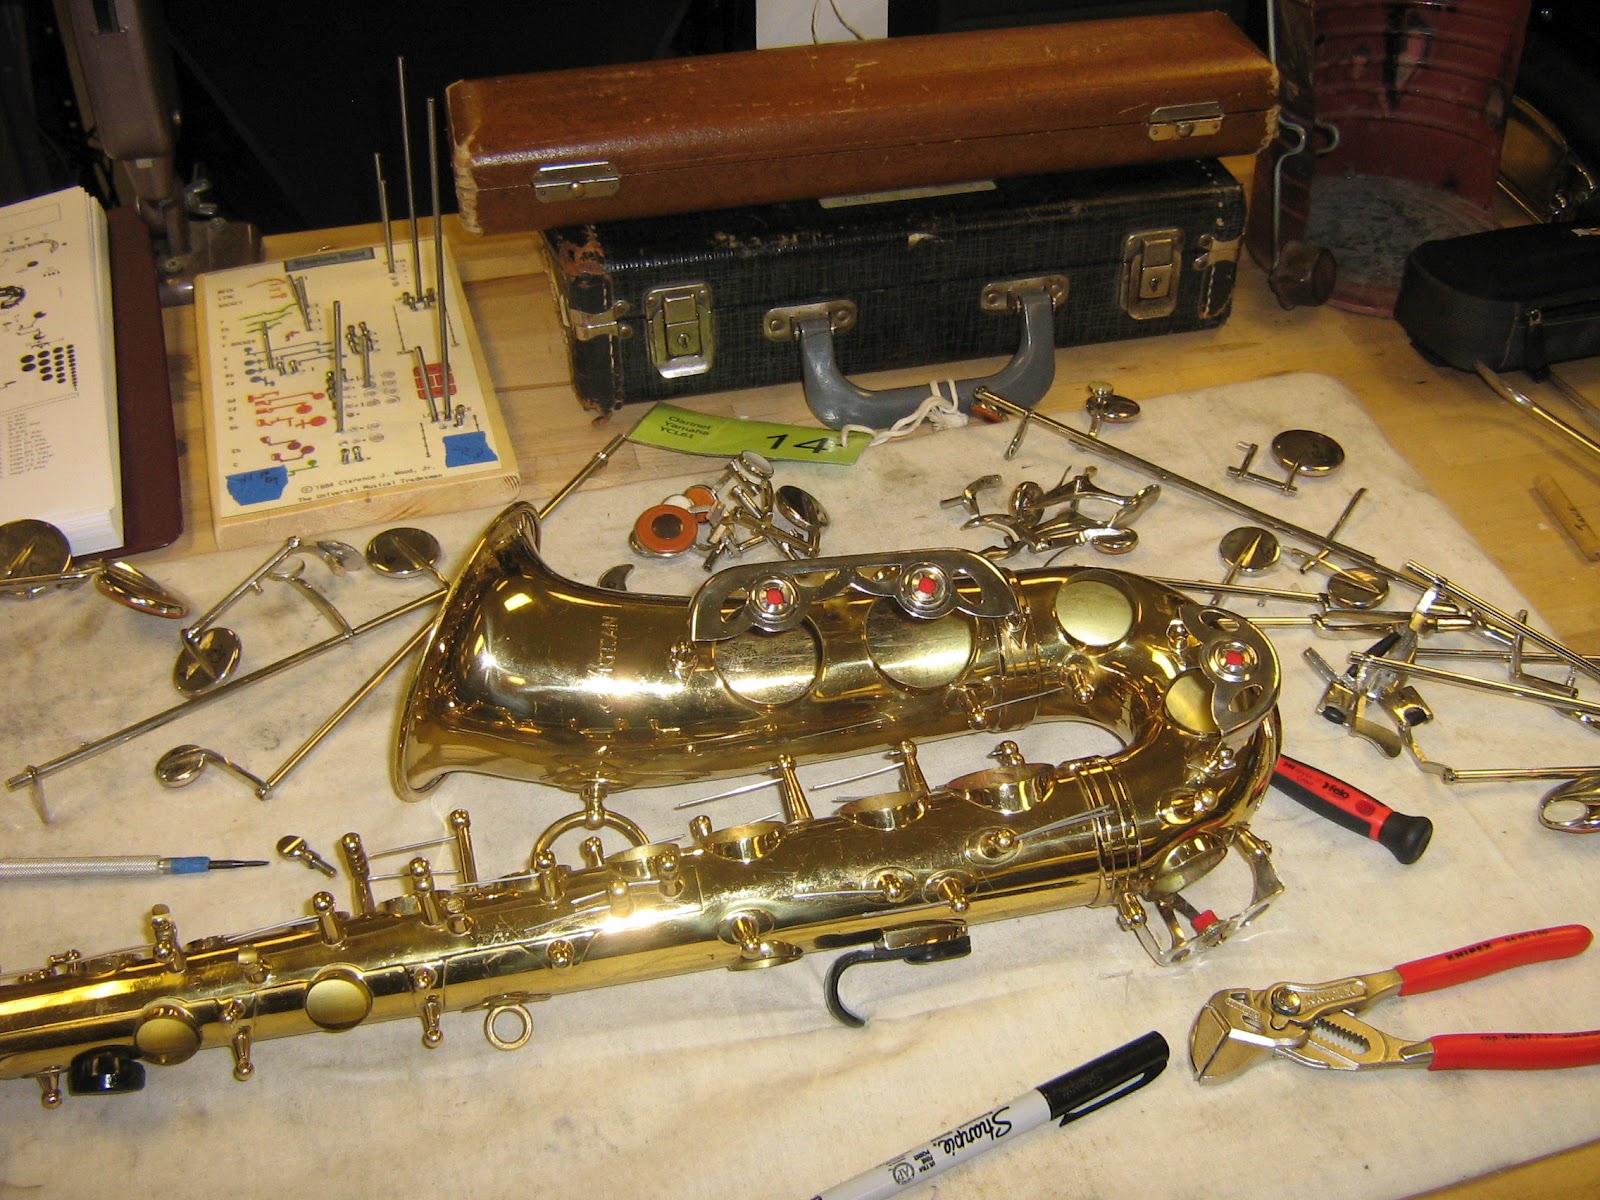
We got hold of our project saxophones this week. I began working on a Bundy II. The horn wasn't in terrible condition, most of the keys moved and there were only a few dents. However, the Bundy II is notorious for having posts misaligned straight from the factory, so it is going to be a lot of work.


I began by inspecting the horn for damage and fixing any key issues that I could before actually tearing the horn down. During this, I documented things like cork thickness, materials and pad protrusion. After that, it was stripped of all its corks and pads and into the chem flush. While the keys horn was soaking in detergent, I began straightening and polishing all of the hinge rods, a very tricky task with hinge rods this long. If you do not hold them right, the centrifugal force of 1725 rpm will slap you right in the face.


After the horn was clean, I began body work. The first thing was to straighten the body. Luckily, my body was not out of alignment. Using barrel and spherical dent balls, I went after dents in the bow and body. Now that it is dent free, we begin the daunting task of Bundy II post alignment.

Post alignment involves a few different things. The posts themselves have to be aligned on all three axes. In addition, the holes themselves point in a specific direction from when they were cut, and this direction is often wrong on Bundy II's. I began with the lower stack and found that one post was so twisted that I had to unsolder it from the body. Once the other posts were lined up, I used the E key and the hinge rod to line the post up and soldered it back. Overall, I found that more than half of the keys had misaligned posts that had to be corrected, and a couple of them had to be adjusted to work with twisted posts.


Continuing with body work, one of the flanges holding on the B-Bb key guard had a broken solder joint. Fixing this was relatively easy. Once the joint was cleaned up I reattached the key guard and used it as the fixture to hold the flange in the proper position. I soldered it in place and cleaned up the joint.


Now with the posts aligned and the body work totally finished, I began key fitting. Surprisingly, there wasn't a lot of play in the keys on this sax, so key fitting went relatively easy. The post that I soldered back on in the lower joint caused a slight binding issue because I butted it up to the E key a little too close when reattaching. A couple of keys needed to be adjusted because of the post alignments, but overall it wasn't too bad.


The next step is going to be the leveling of the tone holes. To do this, we will use a drill and a fine leveling disk to actually sand the high spots in the tone hole down, and a dent rod to push the low spots up. I've run out of time this week, so to prepare I used a Sharpie to color the tops of the tone holes black so that I can see the point of level when sanding. To finish off the week, I epoxied the thumb button back on the body and will let it set up for the weekend.


I began by inspecting the horn for damage and fixing any key issues that I could before actually tearing the horn down. During this, I documented things like cork thickness, materials and pad protrusion. After that, it was stripped of all its corks and pads and into the chem flush. While the keys horn was soaking in detergent, I began straightening and polishing all of the hinge rods, a very tricky task with hinge rods this long. If you do not hold them right, the centrifugal force of 1725 rpm will slap you right in the face.


After the horn was clean, I began body work. The first thing was to straighten the body. Luckily, my body was not out of alignment. Using barrel and spherical dent balls, I went after dents in the bow and body. Now that it is dent free, we begin the daunting task of Bundy II post alignment.


Continuing with body work, one of the flanges holding on the B-Bb key guard had a broken solder joint. Fixing this was relatively easy. Once the joint was cleaned up I reattached the key guard and used it as the fixture to hold the flange in the proper position. I soldered it in place and cleaned up the joint.


Now with the posts aligned and the body work totally finished, I began key fitting. Surprisingly, there wasn't a lot of play in the keys on this sax, so key fitting went relatively easy. The post that I soldered back on in the lower joint caused a slight binding issue because I butted it up to the E key a little too close when reattaching. A couple of keys needed to be adjusted because of the post alignments, but overall it wasn't too bad.


The next step is going to be the leveling of the tone holes. To do this, we will use a drill and a fine leveling disk to actually sand the high spots in the tone hole down, and a dent rod to push the low spots up. I've run out of time this week, so to prepare I used a Sharpie to color the tops of the tone holes black so that I can see the point of level when sanding. To finish off the week, I epoxied the thumb button back on the body and will let it set up for the weekend.


The NAPBIRT conference is this weekend in Normal Illinois and though most of us cannot make it, we did send an entry for their Pine Car Derby. My job on this car was to design and construct the front end of the car. So, using a lyre as the front end, I soldered a couple of sax posts to a piece of square stock and attached it to the car. The wheels were drilled out and attached to a piece of cut drill rod that was screwed into an adjustment nut. Overall, it worked pretty well. After that, the other classmates finished construction and we all decorated it, as terribly as possible.